

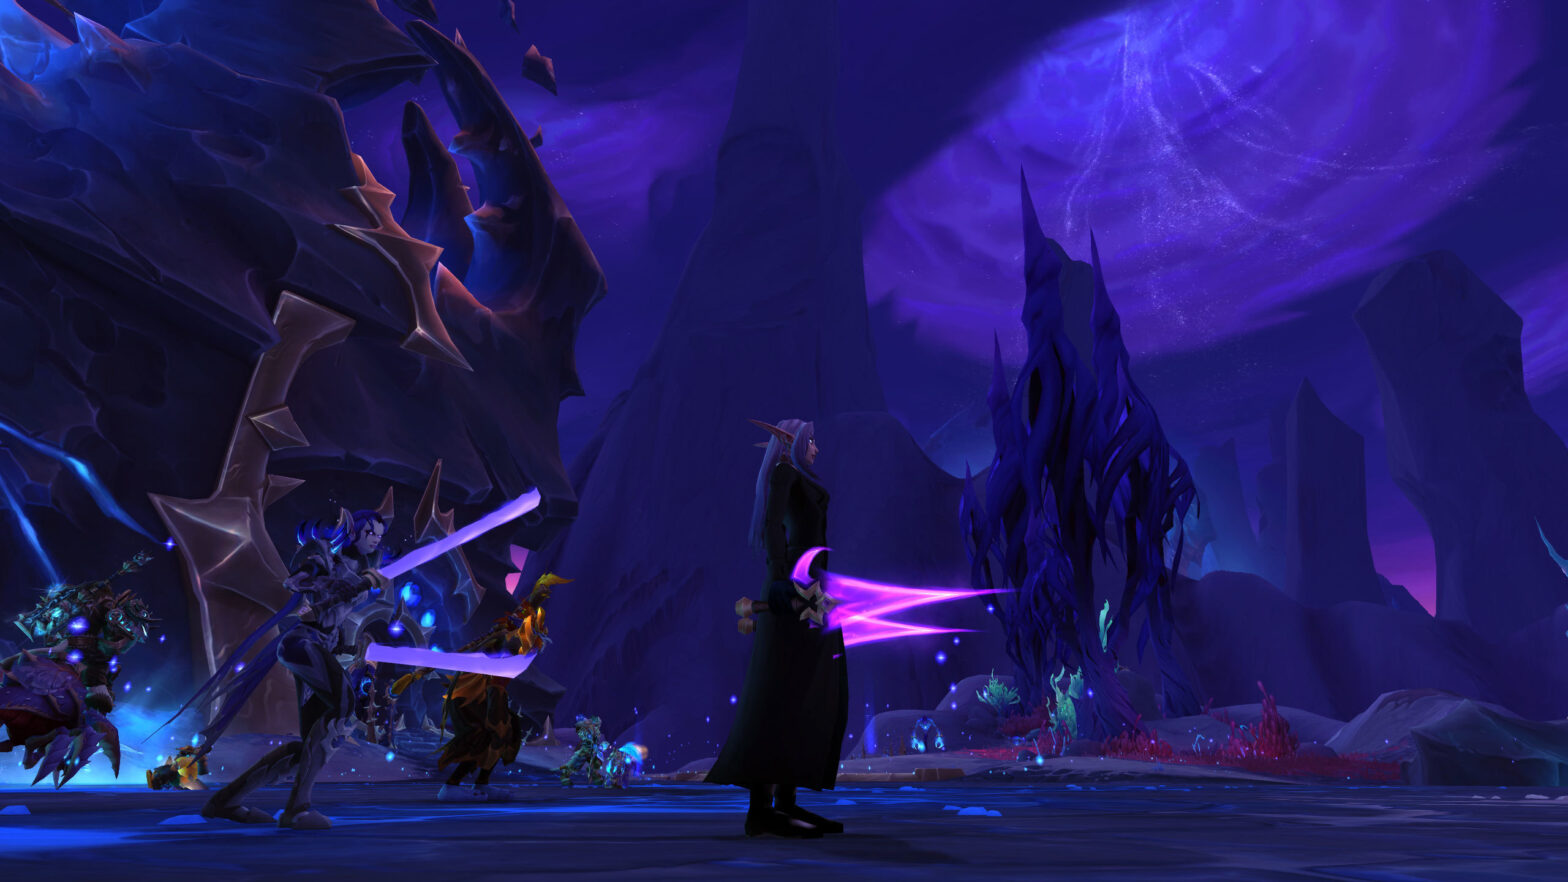
The Eclipse Ascendant encounter in World of Warcraft: Midnight’s first raid tier is one of the most mechanically demanding boss fights in the expansion, combining Light and Void damage patterns, phase transition mechanics that require precise raid positioning, and a soft enrage timer that tests your raid’s sustained damage output and healing throughput limits. On Mythic difficulty, the Eclipse Ascendant adds additional layers of complexity including intermission phase add spawns, dual-boss mechanic coordination (where the Ascendant splits into Light and Void entities that must be managed simultaneously), and raid-wide damage spikes that require perfect defensive cooldown rotation to survive. This step-by-step Mythic difficulty strategy guide covers every phase of the Eclipse Ascendant encounter, the role-specific responsibilities for tanks, healers, and DPS, and the raid coordination strategies that will help your guild secure its first Mythic kill on this challenging and rewarding boss fight.
Encounter Overview and Raid Composition Requirements
The Eclipse Ascendant is encountered in The Voidspire raid, the first of the three Midnight Season 1 raids, and it serves as the raid’s primary mechanical skill check encounter that separates guilds capable of Mythic progression from guilds that are limited to Normal and Heroic difficulty clears. The encounter features a single boss entity that transitions through three distinct phases (Light Phase, Void Phase, and Eclipse Phase) and two intermission phases that add spawn and raid repositioning challenges, with the Mythic difficulty adding additional intermission adds, stricter positioning requirements, and higher damage output that demands near-perfect raid execution.
The recommended raid composition for the Eclipse Ascendant Mythic encounter is 2 tanks, 5-6 healers, and 12-13 DPS, with the following specialization considerations:
- Tanks: Brewmaster Monk and Protection Warrior are the optimal tank pairing for this encounter, because the Brewmaster’s Stagger mechanic handles the Eclipse Ascendant’s physical damage spikes most effectively and the Protection Warrior’s mobility and taunt-swap precision enables clean boss positioning during phase transitions.
- Healers: Restoration Druid (for HoT-based AoE healing during Void Phase damage spikes), Holy Paladin (for single-target tank healing during Light Phase boss attacks), and Restoration Shaman (for Chain Heal AoE healing during intermission add spawns) are the three healer specializations that perform best on this encounter, with the remaining 2-3 healer slots filled by specs that complement the raid’s specific healing needs and player availability.
- DPS: A balanced mix of single-target focused specs (for the main boss damage) and cleave specs (for intermission add clearing) is optimal, with at least 3-4 cleave-capable DPS (Balance Druid, Havoc Demon Hunter, Unholy Death Knight) in the raid to handle the intermission add spawns efficiently.
Before attempting the Eclipse Ascendant on Mythic difficulty, your raid should have cleared the encounter on Heroic difficulty multiple times to establish baseline familiarity with the phase transitions, intermission mechanics, and boss ability patterns. The Mythic difficulty adds sufficient additional complexity that learning the base encounter mechanics during Mythic attempts is an inefficient use of your raid’s time and resources, and the Heroic-difficulty practice will provide the foundational knowledge that your raid needs to focus on Mythic-specific mechanics from the first Mythic pull.
Phase One: Light Phase — Mechanics and Execution
The Eclipse Ascendant encounter begins with the Light Phase, where the boss channels Light energy and deals a combination of physical melee damage to the tank and Light-based raid-wide damage that requires healer AoE throughput and raid positioning awareness. The Light Phase lasts until the boss reaches 70% health, at which point the boss transitions to Intermission One.
The primary mechanics during Light Phase are:
- Light Cleave: A frontal cone attack that the active tank must position away from the raid to avoid hitting DPS and healer players. The Light Cleave deals heavy physical damage and applies a stacking debuff that increases Light damage taken, making tank swaps mandatory every 3-4 stacks of the debuff to prevent the active tank from taking lethal damage.
- Radiant Burst: A raid-wide Light energy explosion that deals damage to all raid members proportional to their distance from the boss. Players who are too close to the boss take significantly more damage from Radiant Burst than players at maximum range, so the raid should stack at maximum range from the boss (approximately 35-40 yards) during Radiant Burst casts to minimize the raid-wide damage intake.
- Light’s Judgment: A targeted ability that marks three random non-tank players with a Light beacon that deals periodic damage to the marked players and, after 8 seconds, explodes and deals damage to all players within 8 yards of the marked player. Marked players must immediately move away from the raid group to isolated positions so that their Light’s Judgment explosion does not hit other raid members, and they must use personal defensive cooldowns or healer attention to survive the periodic damage during the 8-second beacon duration.
The raid strategy for Light Phase is straightforward: the tanks establish boss positioning in the center of the encounter area, the raid stacks at maximum range for Radiant Burst management, and the three Light’s Judgment targets move to isolated positions around the encounter area’s perimeter to explode safely without hitting other raid members. The healers focus on maintaining raid health through Radiant Burst damage and keeping the Light’s Judgment targets alive during their beacon duration, while the DPS players burn the boss toward the 70% health threshold that triggers Intermission One.
Intermission One: Add Spawns and Raid Repositioning
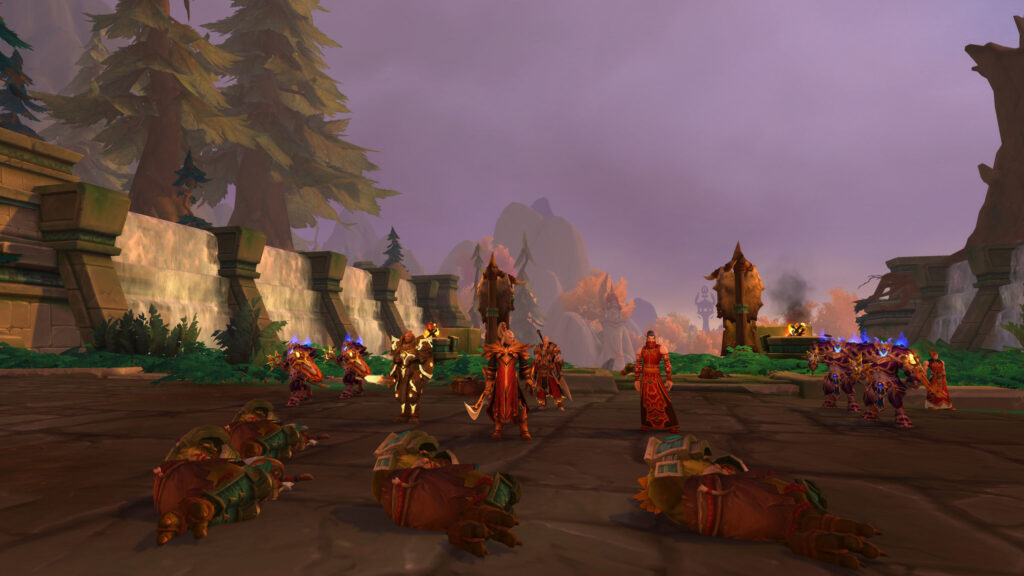
When the Eclipse Ascendant reaches 70% health, the boss becomes immune to damage and transitions to Intermission One, during which four Light-touched add creatures spawn at the four cardinal directions around the encounter area and must be defeated before the boss resumes damageable status and transitions to Void Phase. On Mythic difficulty, Intermission One spawns six adds instead of four, and the additional two adds spawn with Void-touched buffs that make them significantly more dangerous than the standard Light-touched adds, requiring the raid to prioritize the Void-touched adds first before clearing the remaining Light-touched adds.
The add spawn strategy for Intermission One is as follows: the raid splits into two groups of approximately equal DPS output, with each group assigned to two adds (three adds per group on Mythic difficulty, accounting for the additional Void-touched adds). Each group focuses their DPS on their assigned adds and defeats them as quickly as possible, while the tanks taunt and hold the adds in positions that minimize the adds’ area damage abilities hitting the DPS players who are attacking other adds. The healers provide AoE healing throughput to sustain the raid through the adds’ area damage abilities and single-target healing to keep the tanks alive while they hold multiple adds simultaneously.
On Mythic difficulty, the Void-touched adds have a Void Corruption aura that applies stacking damage-over-time debuffs to players within 10 yards of the add, so the tanks must position the Void-touched adds as far away from the DPS and healer groups as possible to minimize the raid’s debuff stack count. The DPS groups attacking the Void-touched adds must also use personal defensive cooldowns and healer-assigned healing cooldowns to survive the Void Corruption aura’s damage while they defeat their assigned adds, because the Void Corruption stacks can quickly become lethal if left unchecked.
Once all Intermission One adds are defeated, the Eclipse Ascendant resumes damageable status and transitions to Phase Two: Void Phase, where the encounter’s damage patterns shift from Light-based to Void-based and the raid must reposition and adapt to the new mechanic set.
Phase Two: Void Phase and Mythic-Specific Challenges
Void Phase mirrors Light Phase in structure but replaces Light-based mechanics with Void-based equivalents that are more punishing and require stricter raid execution to survive. The Void Phase lasts from 70% to 40% boss health, at which point the boss transitions to Intermission Two and then to the final Eclipse Phase.
The primary mechanics during Void Phase are:
- Void Cleave: The Void equivalent of Light Cleave, a frontal cone attack that applies a Void damage stacking debuff. Tank swap strategy is identical to Light Phase (swap every 3-4 stacks), but the Void Cleave deals magic damage rather than physical damage, meaning that the tanks’ magic damage mitigation cooldowns are more effective for surviving Void Cleave than their physical damage mitigation cooldowns.
- Void Eruption: The Void equivalent of Radiant Burst, a raid-wide Void energy explosion that deals damage proportional to the number of players stacked within 10 yards of each other. Unlike Radiant Burst (where the raid stacks at maximum range), Void Eruption requires the raid to spread out to 10-yard separation between all players to minimize the damage each player takes. This repositioning requirement is the most dangerous aspect of Void Phase for raids that are transitioning from Light Phase habits, because the natural instinct to stack for Radiant Burst is directly counterproductive for Void Eruption survival.
- Void Drain: The Void equivalent of Light’s Judgment, but instead of marking three players for delayed explosion, Void Drain channels a continuous damage beam from the boss to two random non-tank players that must be interrupted by another player running through the beam to break the channel. The beam interrupt mechanic requires raid awareness and communication, because the Void Drain targets must call out their positions and nearby players must immediately run through the beam to interrupt it before the targeted players take lethal damage from the sustained channel.
On Mythic difficulty, Void Phase adds an additional mechanic: Void Rifts spawn periodically around the encounter area and must be closed by players standing on the rift location and channeling a closure ability for 5 seconds. The Void Rift closure mechanic competes with the Void Drain interrupt mechanic for player attention and movement, creating a multi-tasking challenge where players must simultaneously run through Void Drain beams to interrupt them and stand on Void Rifts to close them, all while maintaining their DPS output on the boss and avoiding Void Eruption spread requirements. The raid should assign specific players to Void Rift closure duty (typically players with strong mobility or low DPS priority who can afford the 5-second channel downtime) so that the rest of the raid can focus on Void Drain interrupts and boss damage without being distracted by the Void Rift mechanic.
Phase Three: Eclipse Phase and the Final Push
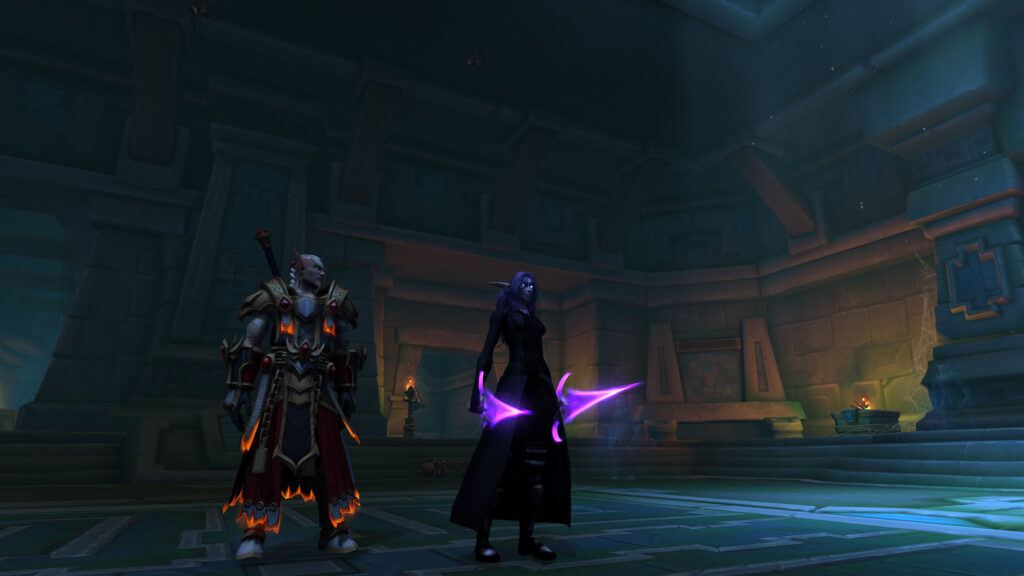
When the Eclipse Ascendant reaches 40% health, the boss transitions to the final Eclipse Phase, where Light and Void energies combine into a devastating Eclipse damage pattern that tests everything the raid has learned throughout the encounter. The Eclipse Phase has no intermission and continues until the boss is defeated or the raid is wiped, and it features the highest damage output and most complex mechanic combinations of any phase in the encounter.
During Eclipse Phase, the boss alternates between Light Cleave and Void Cleave every 15 seconds, requiring the tanks to swap between physical and magic damage mitigation cooldowns on each cleave cycle. The raid must alternate between stacking at maximum range (for Radiant Burst) and spreading to 10-yard separation (for Void Eruption) as the boss alternates between Light and Void abilities, creating a positioning dance that requires constant raid awareness and rapid repositioning when the ability pattern changes.
The Eclipse Phase also combines Light’s Judgment and Void Drain mechanics, with three players marked for Light’s Judgment explosion and two players targeted by Void Drain beams simultaneously. The raid must manage both mechanics concurrently: Light’s Judgment targets move to isolated positions for their explosions, Void Drain targets call out their beam locations for interrupting players, and the remaining raid members maintain their stacking or spreading positions based on whether the current raid-wide ability is Radiant Burst or Void Eruption.
The Eclipse Phase is a soft enrage, meaning that the boss’s damage output increases by 5% every 30 seconds during this phase, and the raid must defeat the boss before the escalating damage becomes unmanageable for the healers. For most Mythic-progressing guilds, the Eclipse Phase lasts approximately 3-5 minutes, and the raid must maintain maximum DPS output throughout this phase while executing the positioning and mechanic management perfectly to survive long enough to defeat the boss. The raid’s Bloodlust/Heroism cooldown should be used at the start of Eclipse Phase to maximize the damage output during the soft enrage window and minimize the time the raid is exposed to the escalating damage scaling.
Defeating the Eclipse Ascendant on Mythic difficulty is a significant achievement for any raid guild and demonstrates that your raid has the mechanical execution, healing throughput, and damage output necessary to progress through the most challenging encounters in Midnight’s first raid tier. The strategies outlined in this guide provide the foundation for your Eclipse Ascendant Mythic progression, but the final ingredient for success is the practice, communication, and continuous improvement that your raid team brings to each attempt. Good luck, champions of Quel’Thalas.

Leave a Reply